
How to Make Your Own High Heels
A beautiful heel begins long before the first cut of leather. If you are asking how to make your own high heels, what you are really asking is how to translate taste, proportion, and presence into something wearable. The process is part design exercise, part technical craft, and part discipline. High heels are small objects, but they ask for precision at every stage.
For a woman with a clear eye, the appeal is obvious. Making your own pair allows you to choose the exact line of the vamp, the height that flatters rather than punishes, the finish that feels singular, and the details mass production usually sacrifices. It is not the fastest route to a finished shoe. It is, however, the most personal one.
How to make your own high heels with the right mindset
Before materials, before tools, before sketches, there is one essential shift in perspective. A high heel is not just a decorative object balanced on a narrow lift. It is an engineered silhouette. Every choice affects another - heel height changes pitch, pitch changes comfort, toe shape changes balance, and material thickness changes how the upper wraps the foot.
That is why beginners often struggle when they focus only on appearance. A striking sketch can still fail as a shoe if the proportions do not support the foot. The most successful first project is not the most dramatic one. It is the one with clean lines, a manageable heel, and materials that behave predictably.
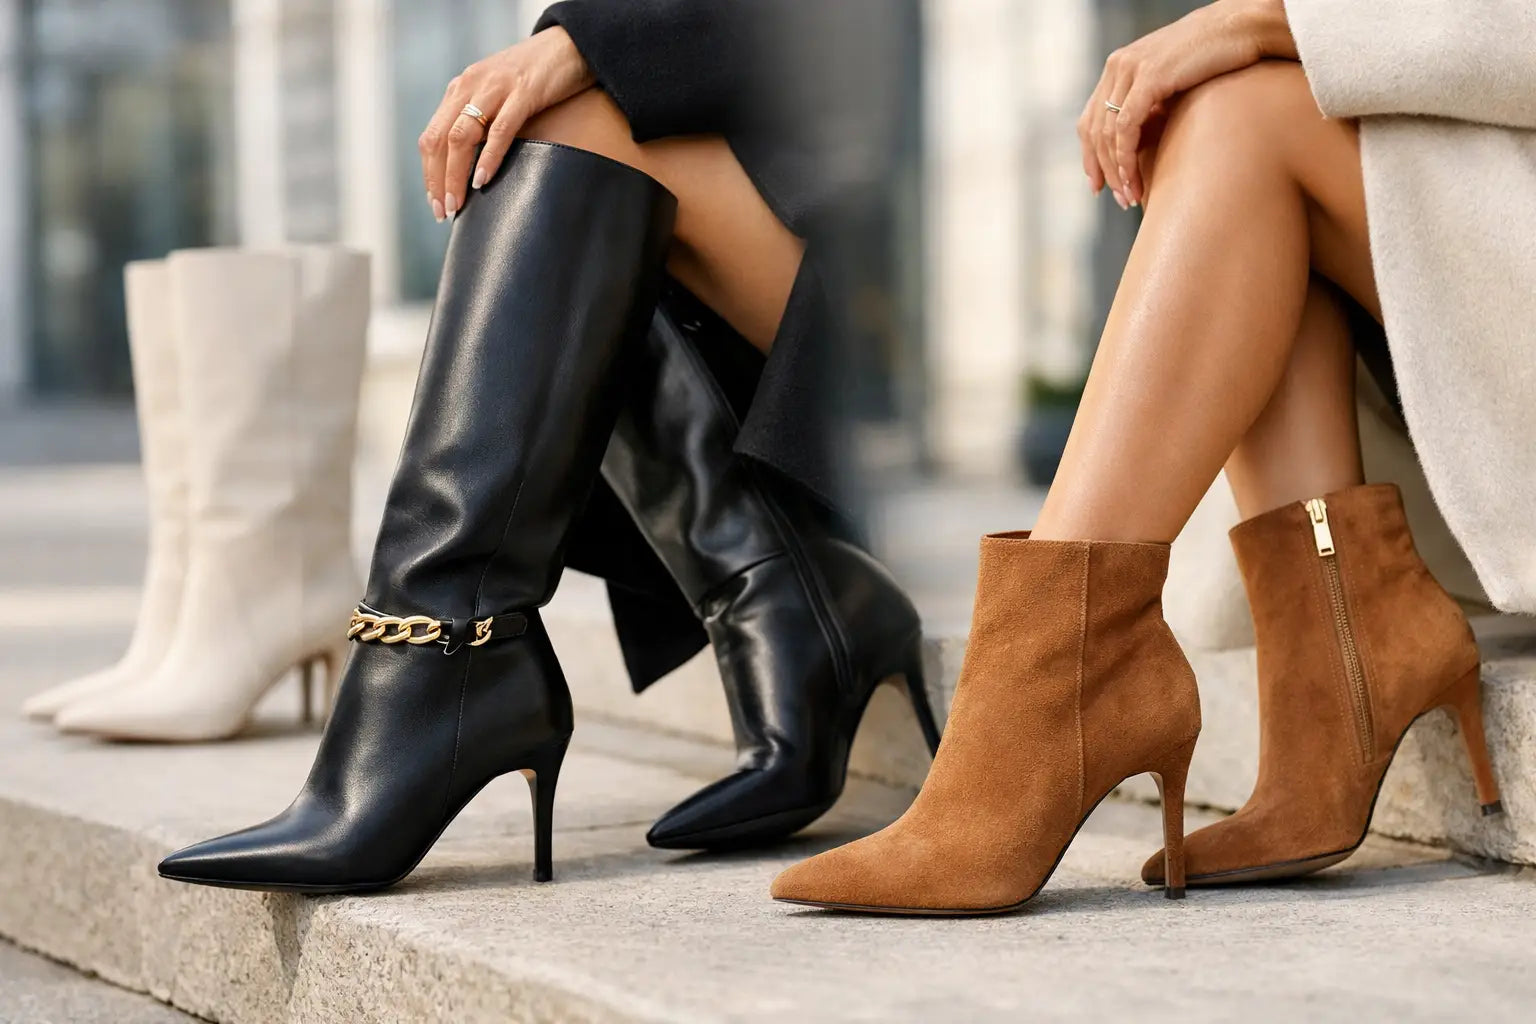
If this is your first pair, start with a classic pump or a minimalist sandal with a secure ankle strap. Both allow elegance without asking you to solve too many structural problems at once. A sculptural 120 mm stiletto may look irresistible on paper, but a lower heel with thoughtful balance will teach you more.
Start with form, fit, and heel height
The foundation of any custom shoe is the last. This is the foot-shaped form around which the shoe is built, and it determines both shape and fit. If the last is wrong, even exquisite materials will not save the final result.
Choose a last that reflects the kind of shoe you want to make. A pointed-toe last gives a sharper, more commanding line. An almond toe feels softer and often more forgiving. Pay close attention to the pitch, which is the angle created by the heel height. The last and the heel must belong together. If they do not, the shoe will feel unstable and visually off balance.
A first-time maker is usually best served by a heel between 70 mm and 90 mm. This range still carries elegance, lengthens the leg beautifully, and is easier to construct than an extreme height. If comfort matters as much as drama, platform styles can reduce the effective pitch, but they also add complexity to the build.
Fit deserves patience. Measure both feet, because very few are perfectly symmetrical. Think about where you usually experience pressure - at the bunion, across the toe box, or at the heel. Bespoke beauty has little value if the shoe pinches in the wrong place.
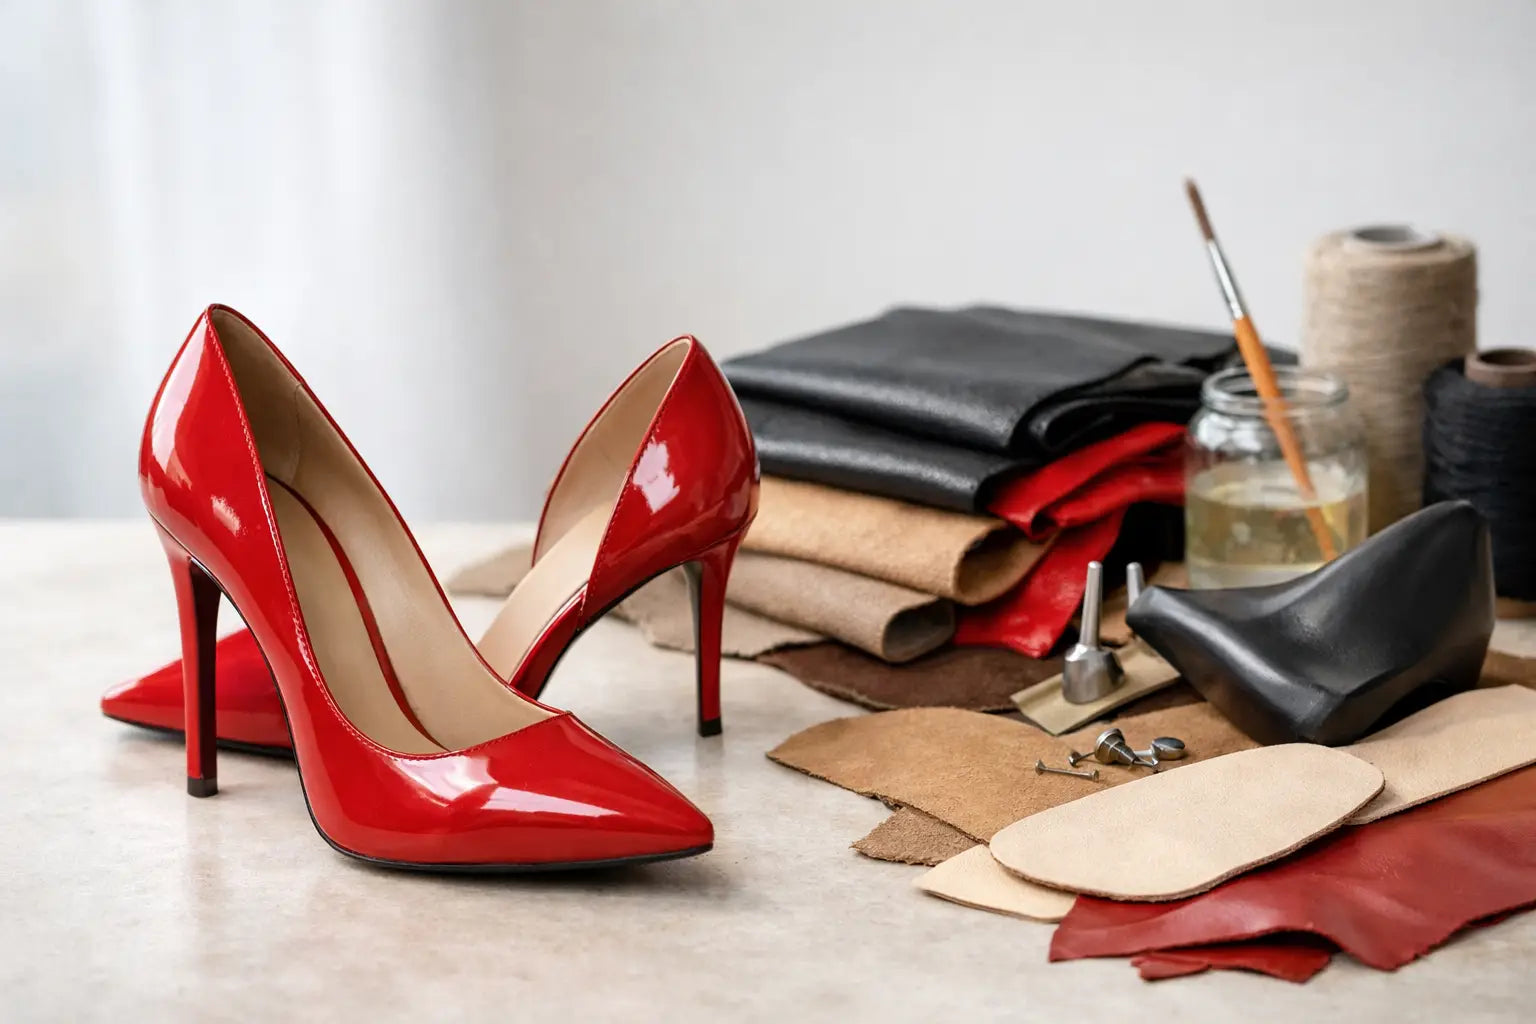
The materials that make the shoe feel luxurious
If you want your finished heel to look and feel elevated, materials matter immediately. Cheap synthetic surfaces may seem practical for practice, but they rarely mold well, age gracefully, or deliver a refined finish. Leather remains the most rewarding choice for uppers and lining because it shapes to the foot and carries a richer visual depth.
For the upper, smooth calf leather, suede, or satin are common options depending on the effect you want. Calf leather is versatile and polished. Suede feels softer and more intimate. Satin can be striking for evening shoes, though it is less forgiving and shows wear more quickly. For lining, a supple leather is usually worth the investment because it affects comfort directly.
The sole is often leather for a traditional luxury finish, though some makers prefer a rubber top layer for added grip. The insole needs enough firmness to support the foot without creating stiffness. Then there is the heel itself, which can be purchased pre-made in the style and height that match your last. For a first project, that is the wiser path. Building a heel from scratch is an advanced discipline.
You will also need adhesive, a sharp knife, shoemaking pliers, nails or tacks depending on construction, sandpaper, and edge-finishing supplies. The tool kit is not especially glamorous, but it is where polish begins.
Design the upper before you cut anything
This is the stage where instinct should meet restraint. Sketch the shoe from the side, front, and top. Decide where the topline will sit, how much toe cleavage you want, whether the throat will be open or modest, and how the shoe will hold the foot securely.
A common mistake is cutting the upper too low in pursuit of a lighter, sexier line. On the body, that can translate to poor hold and visible strain. The more delicate the silhouette, the more exact the pattern must be. What looks effortless in a finished shoe is usually the result of careful pattern placement.
Once your sketch feels resolved, transfer it into a pattern over the last using tape or pattern paper. Mark seam allowances, center lines, and any points where reinforcement will be needed. This is where proportion becomes real. A millimeter too much or too little changes the visual rhythm of the shoe.
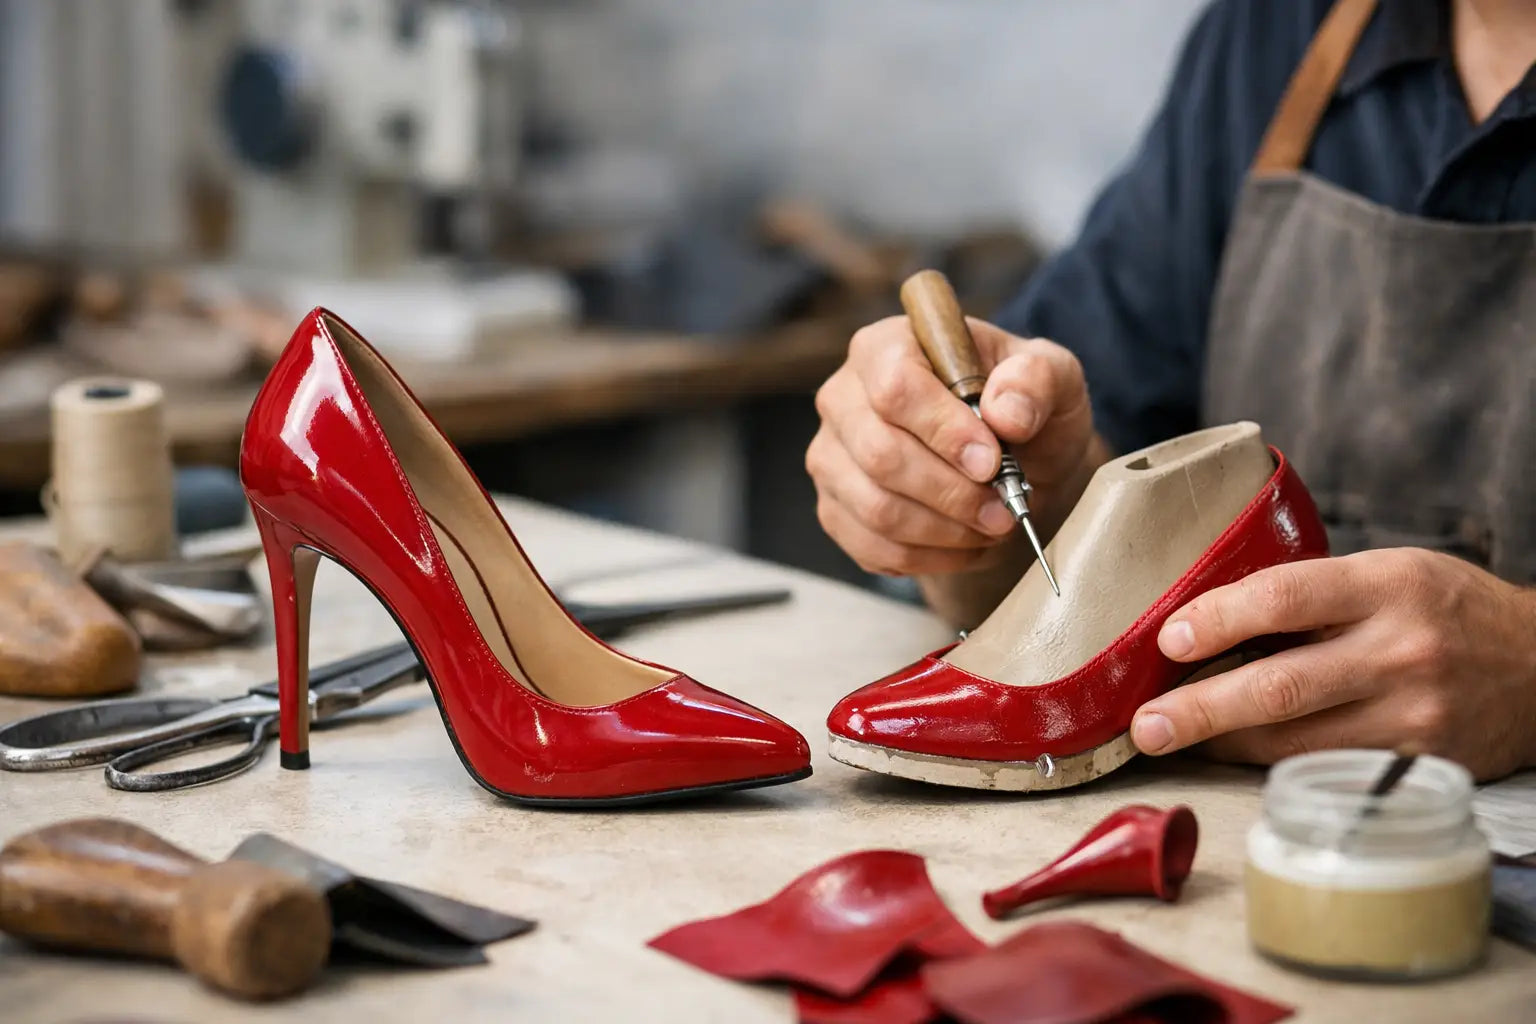
How to make your own high heels step by step
Begin by cutting your upper and lining pieces from the pattern. Keep your cuts clean and economical. Luxury is often visible in symmetry, so treat the left and right shoes with exacting care.
Assemble the upper first. Sew or join the sections, then attach the lining. At this stage, the shoe starts to reveal its character, but do not rush ahead. A beautiful upper still needs to be lasted properly, which means pulling and shaping it over the last so it sits smooth, taut, and balanced.
Lasting is one of the most demanding parts of the process. You secure the upper over the last, pulling the material evenly and fastening it beneath the insole. Too much tension and the leather distorts. Too little and the surface wrinkles. The toe area is especially sensitive because curves must sit smoothly without bulk.
After lasting, attach the shank if your design requires one. The shank supports the arch and helps the shoe maintain its structure. Then prepare and attach the sole. This stage calls for patience, pressure, and accurate alignment. A sole that is even slightly off can affect both appearance and wear.
The heel is attached after the sole structure is ready. Make sure it is centered and secure. This is not an area for approximation. The line of the heel should look natural from every angle, and the shoe should rest without wobble. Once attached, trim edges, smooth transitions, and refine the bottom finish.
Where craftsmanship shows most clearly
The final stages separate a homemade shoe from a shoe with atelier spirit. Edges should be neat, not rough. The insole should sit cleanly. The topline should feel intentional, and the heel tip should meet the floor with confidence.
This is also where embellishment must be handled with judgment. Crystal accents, bows, metal details, or contrast piping can elevate the design, but only if they support the silhouette. A strong shape often needs less ornament than people expect. Restraint reads as confidence.
If you are creating an evening pair, think about texture and light rather than excess. Matte suede with a mirror-finish heel can feel more compelling than a heavily decorated upper. If you are making a day-to-evening pump, the finest detail may be one only you notice - a blush leather lining, a slightly sharper toe, a heel height chosen for movement as much as posture.
What first-time makers often underestimate
Time, above all. A refined heel takes longer than most people expect, especially at the beginning. Pattern corrections, test fitting, and finishing are not interruptions to the process. They are the process.
The second challenge is accepting that comfort is designed, not wished into existence. Cushioning helps, but it does not replace correct pitch, proper support, and a last that suits your foot. If a shoe is uncomfortable at its structural core, surface softness will not rescue it.
The third is understanding when to simplify. There is no compromise in choosing a cleaner design for your first pair. In fact, a pared-back silhouette often reveals greater sophistication. Precision is always more luxurious than complication.
For those who value rarity and personal expression, shoemaking offers something unusually intimate. It allows you to create not just a heel, but a line, a stance, a memory in material. And if your first pair teaches you more than it impresses you, that is still a worthy result. The finest shoes are not rushed into being. They are shaped, corrected, and chosen with intention.


